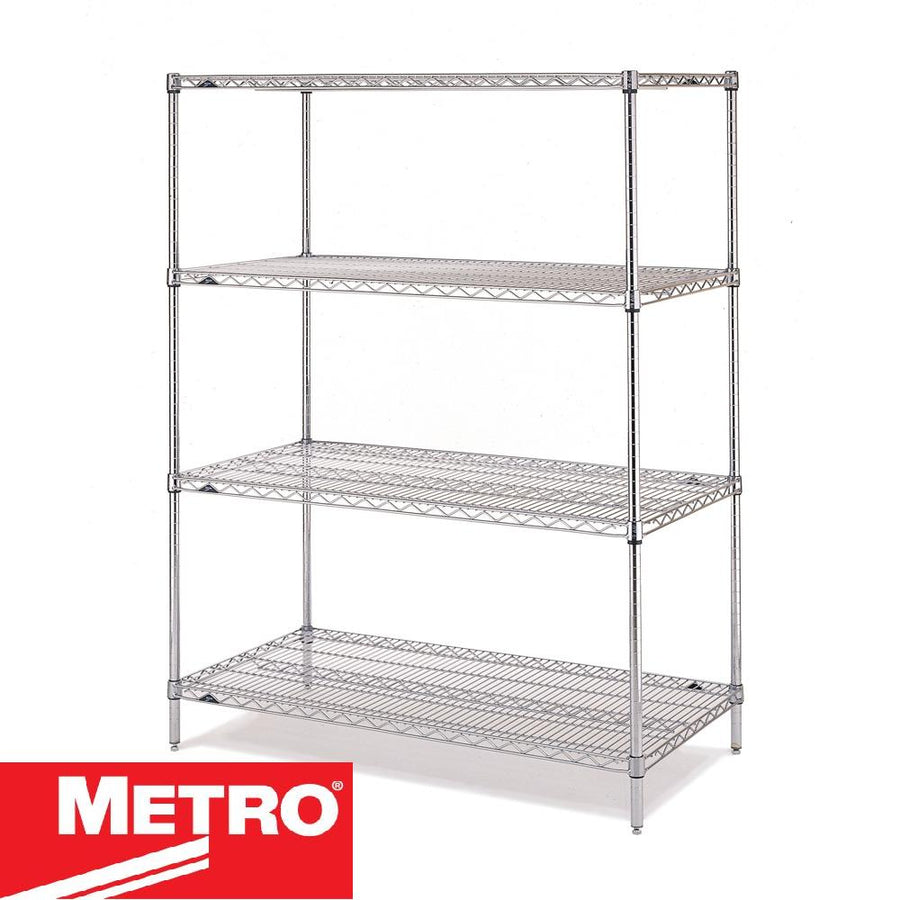
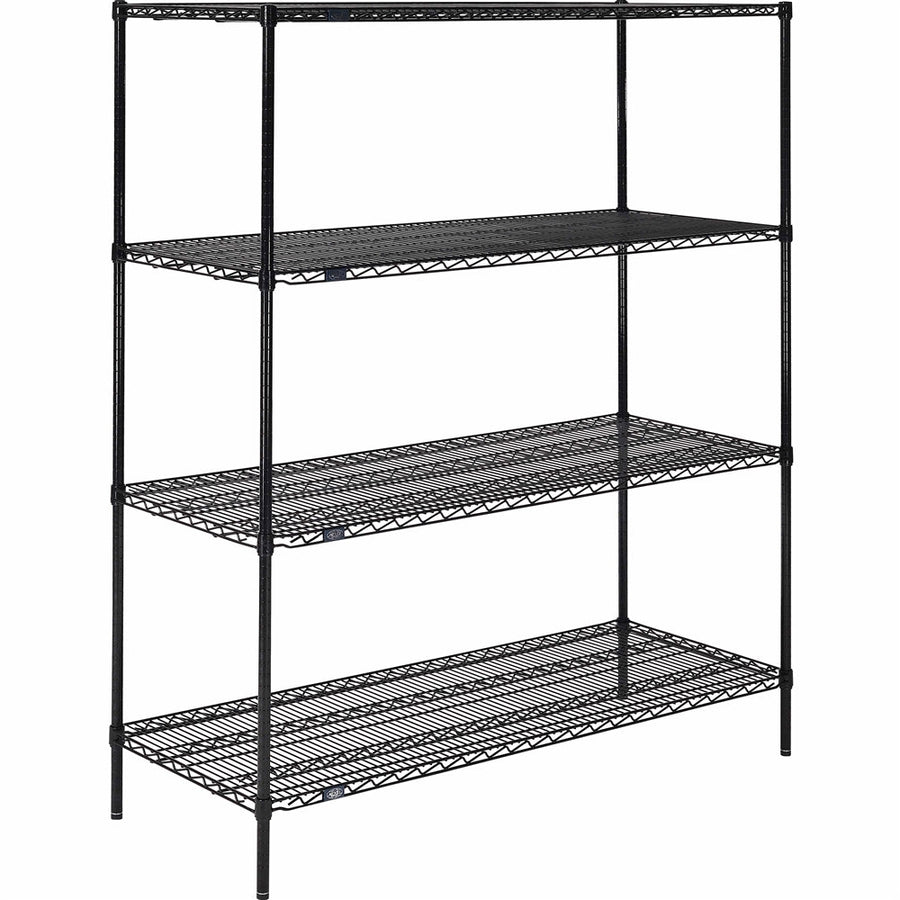
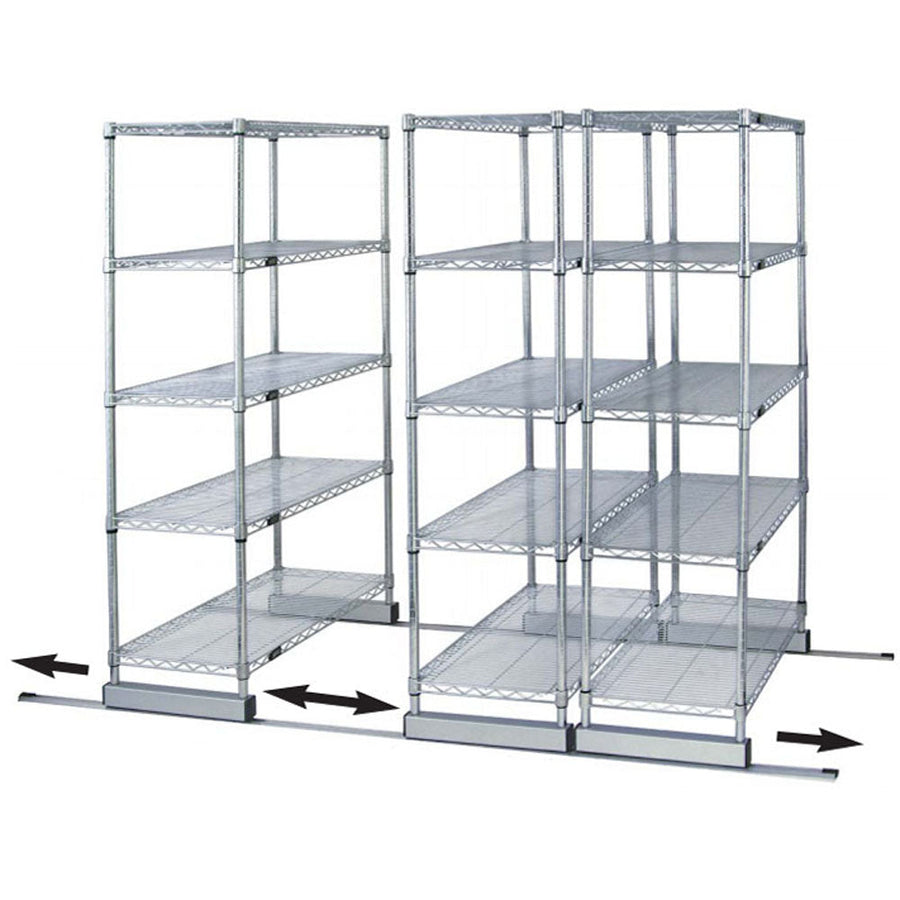
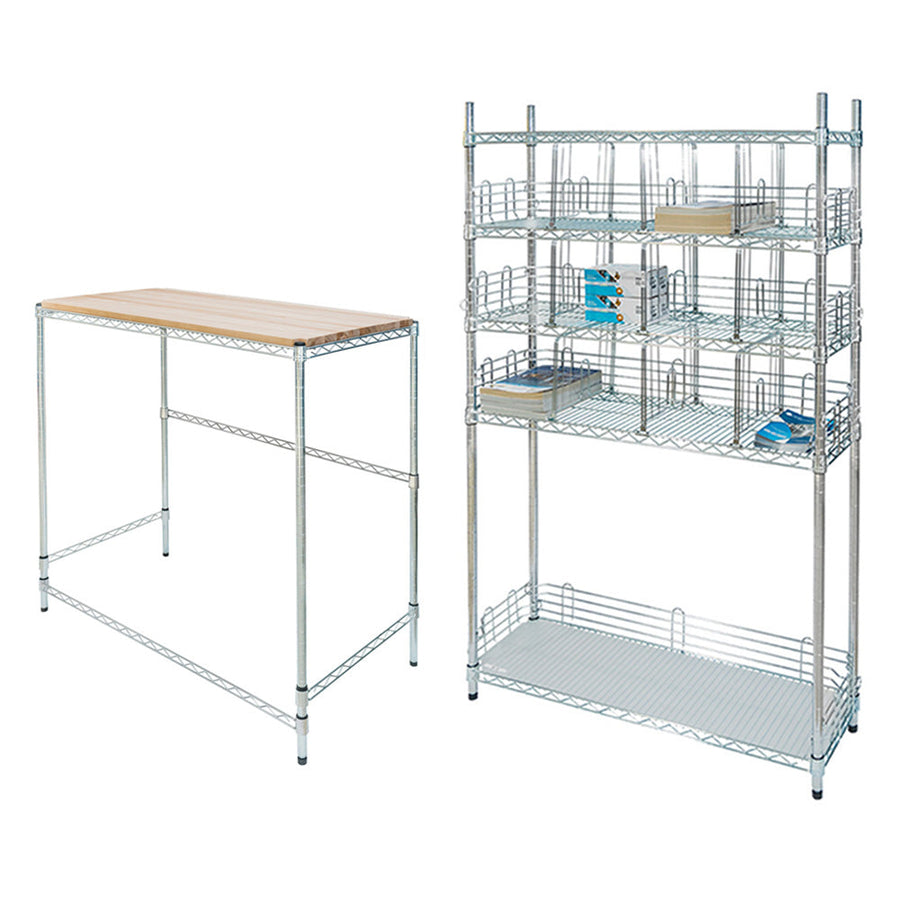
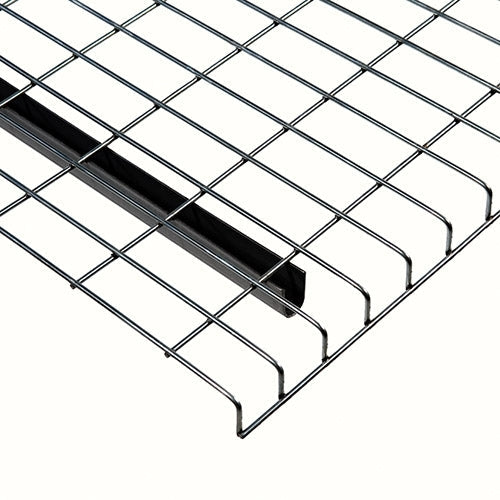
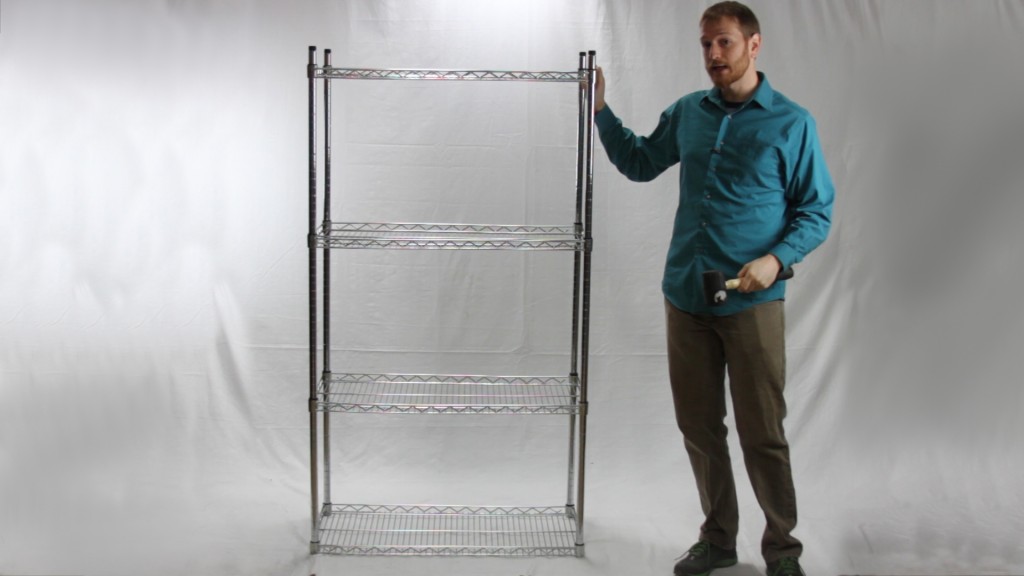
Easy to assemble, sturdy, reliable, adjustable... each of these describes wire shelving. You've read the directions, you've put it together, and you know it's a simple system. But what to do when your space changes? What if you need to reconfigure your shelving or need to break it down to move it? Luckily, taking apart your wire shelving is as easy as putting it together. Follow the instructions below to learn how to get those stubborn shelves loose.
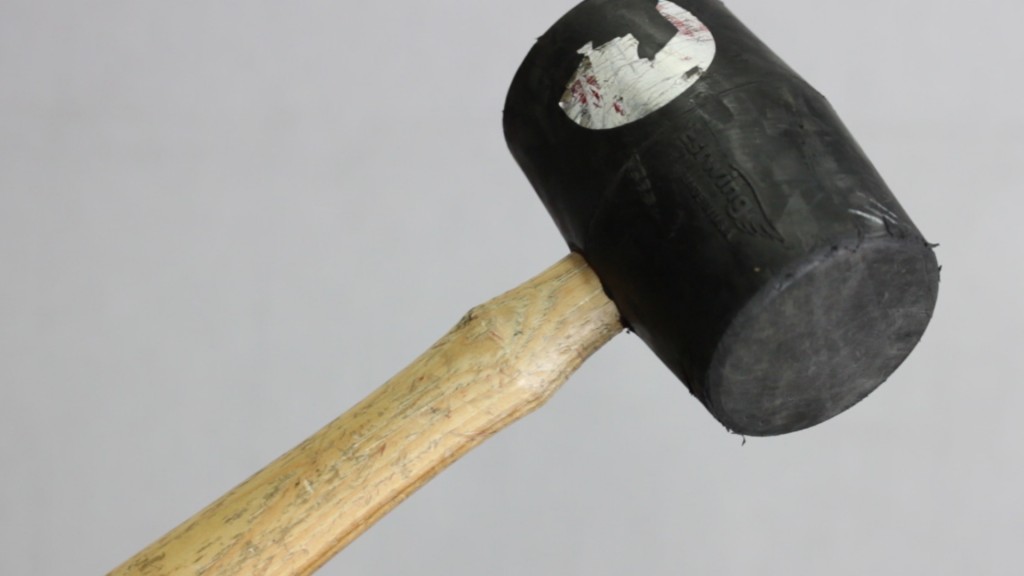
Before you get started, there is one tool that will make your life a lot easier. You'll need to purchase a rubber mallet from your local hardware store. These hammers are great for tons of small do-it-yourself projects, and well worth the $5 investment.
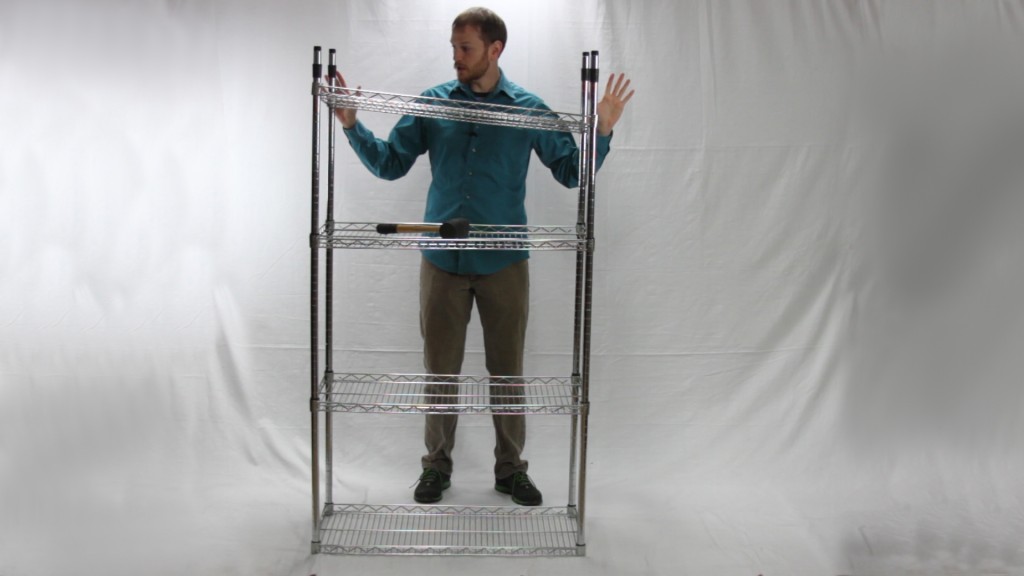
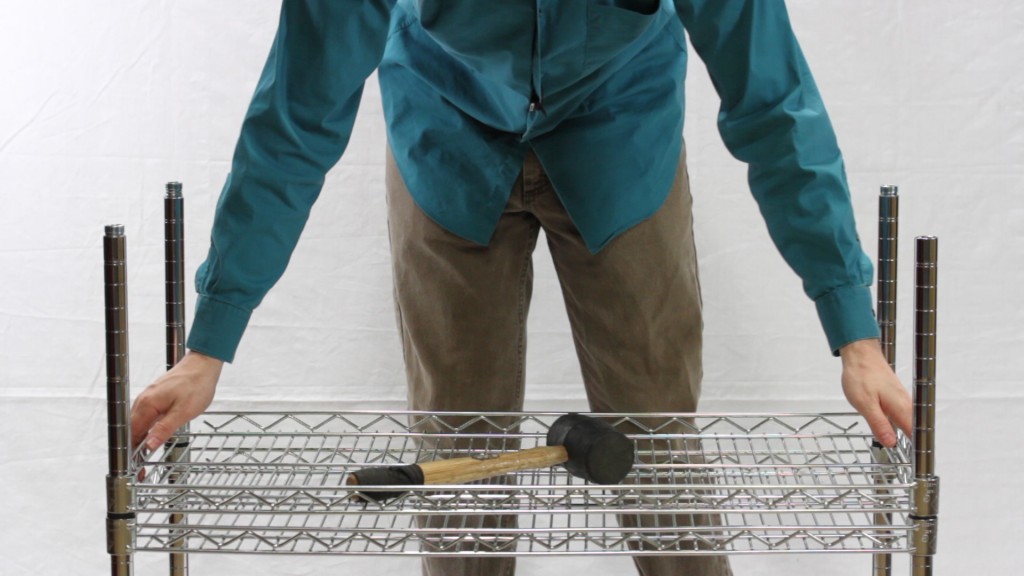
If you've got a rubber mallet, the next step is to flip your shelving unit over. Since gravity is what keeps the shelves wedged onto the plastic shelf clips, you can use gravity to help detach the shelves from the clips. Grab the underside of the shelf frame and walk it gently to the floor to prevent scrapes and damage, then stand it upright so the feet are at the top.
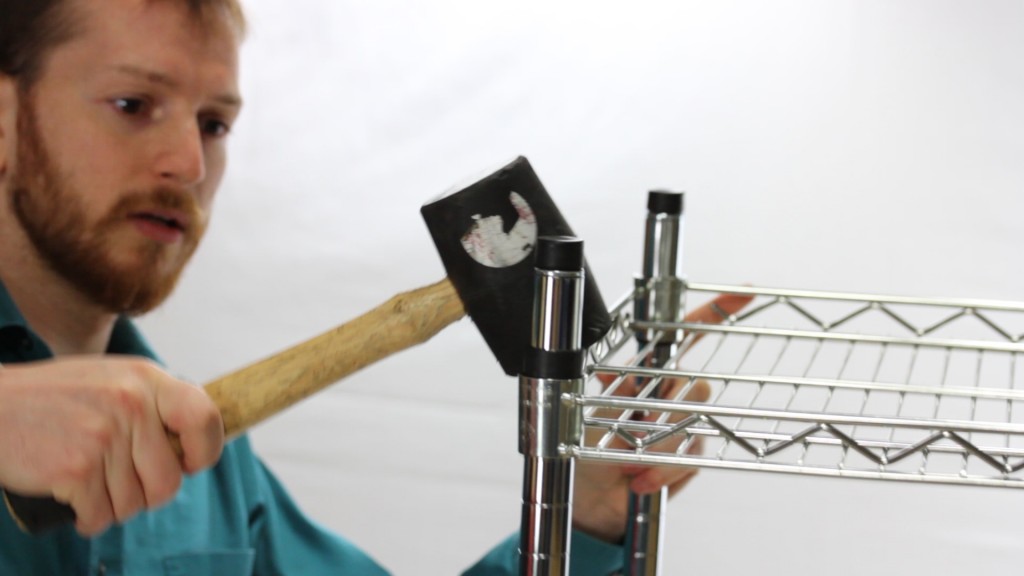
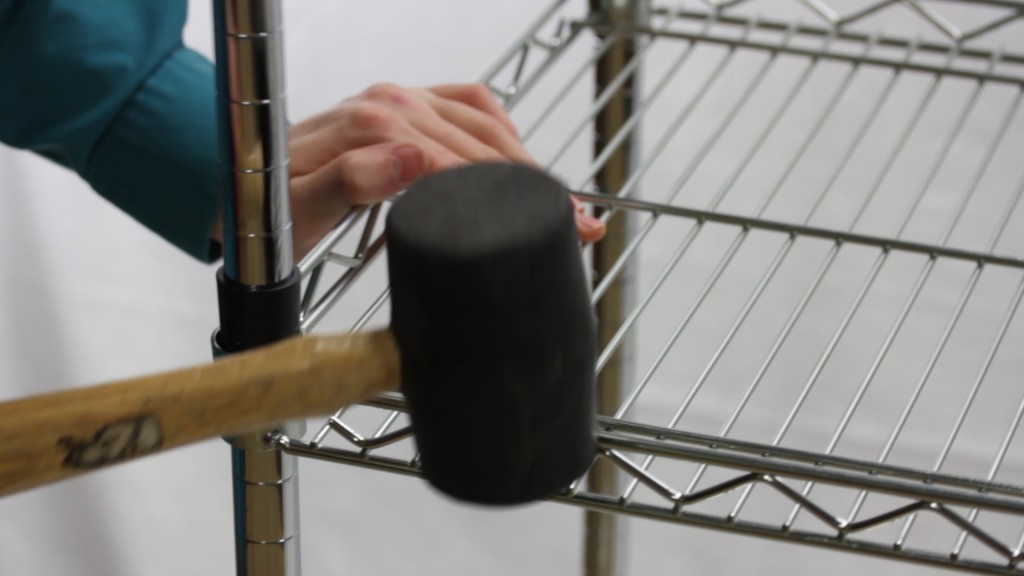
The easiest way to take apart your wire shelving unit is starting at the top (the shelf that used to be the bottom). Use the rubber mallet to strike the frame in each corner. It’s important not to hit the shelf, which can damage it. The force from the blow should dislodge the shelf from the wedged clip.
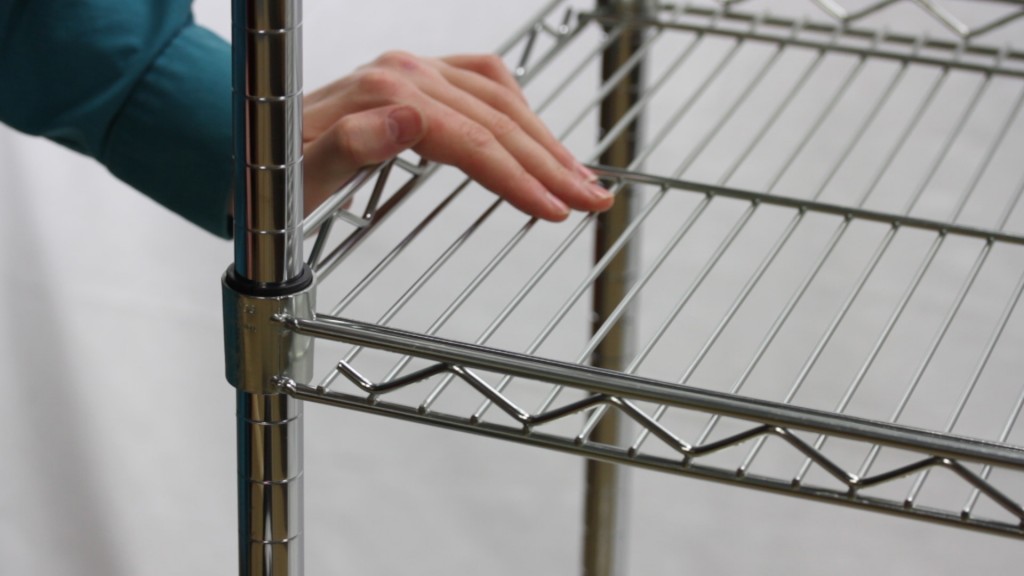
Since wire shelves are good at redistributing weight, the shelf may try to re-attach to the shelf clip when you strike it. For that reason, it helps to keep a hand on the frame. By applying and maintaining downward pressure while striking the frame, you prevent the shelf from springing back onto the plastic sleeve.
Once you've struck all four corners loose, the shelf should slide down the post. If it gets stuck at a severe angle, just tap it from the underside to level it out, and it should fall loose.
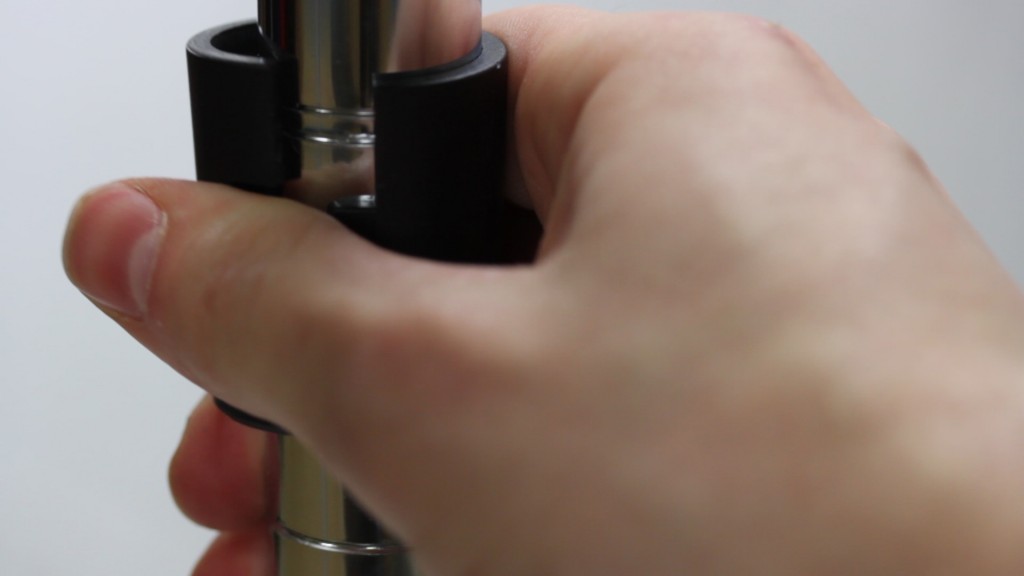
Now that the shelf is out of the way, the next step is to remove the shelf clips. If they've been in place for a while, this can be a challenge. The best way to take them apart is to place your thumb and forefinger on both sides of the clip where the two halves meet, and twist the clip. They should come part with a little friction. If you're having trouble, you can always wedge them apart with something slim and sturdy, like a fingernail. Be sure to keep the clips handy for when you are ready to put your shelves back together.
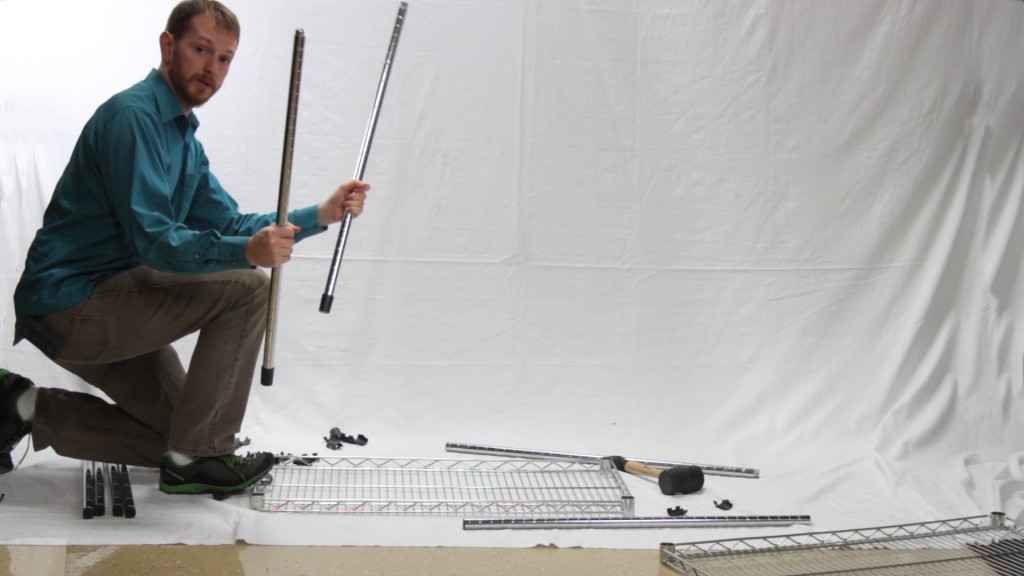
After you've taken the clips off the posts, you'll lift the shelf off the post. From here on, it's a simple matter of rinse and repeat. If your posts are over 48" tall, then you can unscrew the top half from the bottom half, making it easier to remove the final shelves.
When you're on the last shelf, just put a foot on the edge and you can twist the posts out of the corners. That's all it takes!
In short, it's as easy as one-two-three:
1. Flip your shelf over
2. Hit the shelves from the bottom to knock them loose
3. Remove all components from the posts
Now you're ready to take charge of your space, pack up your wire shelving, and move it into its new home! Let us know if you have any questions by giving us a call at 800.637.9508, or use our live-chat feature on www.shelving.com.

